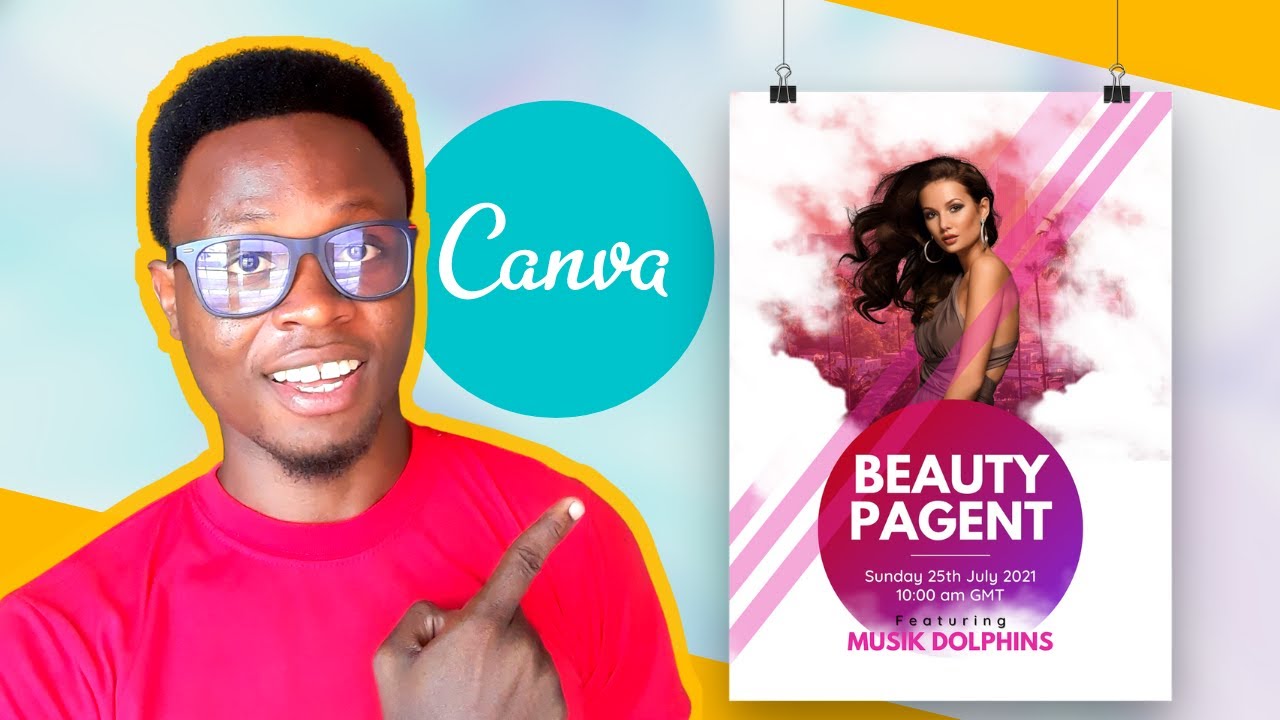
If you've ever wanted to create a stunning beauty poster that looks like it came straight from a professional print studio — without spending a single dollar on expensive design software — this tutorial is exactly what you need. Benjamin walks you through the entire process of building a polished beauty poster in Canva, using only the free version of the tool. Whether you're designing for a salon, a skincare brand, a makeup artist, or a personal project, the techniques in this video will level up your design game fast.
What makes this tutorial stand out is the focus on layered design — one of the most powerful (and often overlooked) techniques in Canva. Layering lets you create depth, visual interest, and that high-end editorial feel that makes viewers stop scrolling. Benjamin breaks it down in a way that is easy to follow, even if you've never thought about layers before. By the end, you'll have a repeatable process you can apply to any beauty or lifestyle poster project.
This is one of those tutorials that rewards you twice: you walk away with a finished design you're proud of, and you pick up skills that make every future project faster and more professional. Over 30,000 people have already watched this lesson — and for good reason. Let's get into it.
What You'll Learn
- How to design a professional beauty poster from scratch using only Canva's free plan
- How to use layering techniques to build depth and a high-end editorial look
- How to work with images, overlays, and text placement for a polished result
- How to choose and combine fonts that feel luxurious and on-brand for beauty content
- How to use color strategically to evoke mood and draw attention to key design elements
- How to adapt the same poster layout for different beauty niches — salons, skincare, cosmetics, and more
Step-by-Step Breakdown
-
Set up your canvas. Open Canva and create a new design. For a beauty poster, a custom size of 1080 x 1350 px (portrait) works beautifully for both print and Instagram. Name your project so you can find it easily later.
-
Choose and place your hero image. Upload a high-quality beauty photo — a model, a product flat lay, or a close-up shot. Drag it onto your canvas and resize it to fill the frame. Use Canva's image positioning handles to center the focal point of the image. This is your base layer.
-
Add a color overlay for mood. Click on a square element from the Elements panel and stretch it to cover your full canvas. Choose a deep, rich color — think warm terracotta, dusty rose, or midnight black — and reduce the transparency to around 30–50%. This softens the photo and gives you a unified color palette to work with.
-
Build your layered design elements. This is where the magic happens. Add shapes — circles, rectangles, or abstract lines — and position them both behind and in front of your image to create layers. Use the "Position" menu (Arrange > Forward/Backward) to control exactly which element sits on top. Try placing a thin circle outline behind your subject for an elegant framing effect.
-
Add your text hierarchy. Every great beauty poster has a clear text structure: a main headline, a supporting subheadline, and small body copy or a call to action. Use a bold serif or elegant script font for the headline, and pair it with a clean sans-serif for body text. Keep your font count to two — maximum three — for a professional result.
-
Refine spacing and alignment. Use Canva's alignment tools (under the toolbar) to center your text and elements precisely. Turn on "Show rulers and guides" under the View menu to keep everything balanced. Good spacing is what separates a beginner design from a professional one.
-
Export your finished poster. Once you're happy with the design, click Share > Download. Choose PNG for the highest quality, or PDF Print if you're sending it to a printer. If you're posting to Instagram, PNG at standard quality is perfect.
Pro Tips from Benjamin
-
Use Canva's transparency trick on multiple layers, not just one. When you stack two or three semi-transparent color shapes with different blend-like effects (try layering a warm and a cool tone), you get a richness that a single overlay can never achieve. Experiment with transparency values between 20% and 60% for each layer.
-
Lock your base layers so you don't accidentally move them. Right-click any element and select "Lock" once you're happy with its position. This saves you from frustrating moments where you drag your hero image out of place while reaching for a text box — especially on mobile or touchscreen devices.
-
Duplicate your design before experimenting with color variants. Before you change your color palette to pitch a second option to a client, duplicate the entire page using the page panel at the bottom of the screen. That way you always have your original safe, and you can present two polished options without extra work.
Key Takeaways
- Layering is the single most effective technique for making Canva designs look expensive and intentional — it creates depth that flat designs simply cannot match
- The free version of Canva has everything you need to produce professional beauty poster designs; you do not need Canva Pro to get great results
- A strong text hierarchy (headline, subheadline, supporting copy) is non-negotiable for any poster that needs to communicate clearly and quickly
- Mastering alignment, spacing, and transparency will consistently separate your work from the crowd — these fundamentals matter more than any single fancy element
Ready to take your design skills to the next level? If you're working with beauty or lifestyle clients, having a solid brand kit makes every project faster and more consistent.